
Hatching Easter chick craft

It’s not much longer to go untill spring and i don’t know about you but I really can’t wait for the warmer weather and lighter nights. This week we’ve been busy making some spring crafts and how cute is this little hatching Easter chick craft? My son likes him so much he wants to make a whole nest full!
You will need
- Paper plate
- Yellow, white and orange paper
- Marker pen
- Scissors
- Glue

First you will need to make your egg shell. Cut your paper plate in half, then cut out some triangles along the straight edge to make your cracked shell.

Take your yellow paper and cut out an arch shape as shown above, this will be your chick’s body.
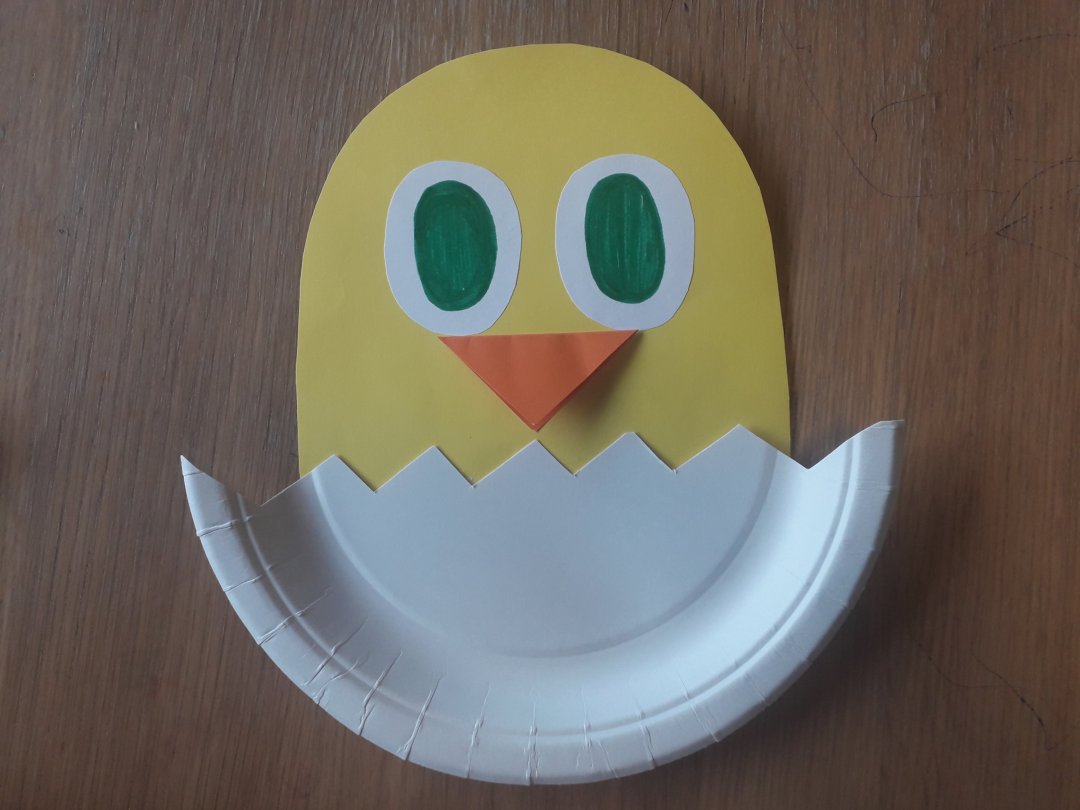
Glue you chick’s body down on the back of your paper plate egg shell. Then cut out two white ovals for eyes, use a marker to draw on some Pupils and glue them down. To make the beak; fold a piece of orange paper and using the fold as the base cut out a triangle to give you an equal sided diamond. Glue one half of the diamond down in position as the beak and leave the other half loose.


Next you will need to make the paper springs for your chick’s legs. Cut out one long strip of orange paper and one long strip of yellow paper and place them at a 90° angle. Take turns folding one colour over the other to make your spring. Once you reach the end of your paper secure the two loose ends together with glue. Repeat this step to make a second spring.

Glue one end of your spring down in place on your egg shell and then cut out two little feet to glue on the free end. Your little hatching chick is finished! How adorable is he?!
Did you like this craft? Why not check out this cute DIY Easter photo frame.
Click here to visit Madhouse Mummy Crafts on Pinterest
[recent_post_slider design=”design-4″]


