Can you believe that we are almost half way through August? it feels like only a blink ago that we were celebrating Christmas and now we have our sights set on one of our favourite times of year; Halloween! Halloween is always so much fun and we just love to decorate the house ready for trick or treaters to pay a visit. We had a great time making these little paper plate Halloween ghosts and cant wait to hang them up in our conservatory when October hits!
Here’s what we used
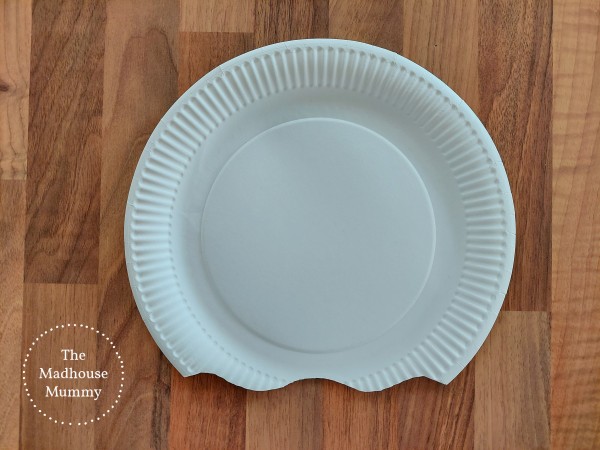
Paper plate
White card
Black paper
White crepe paper
Scissors
Glue
How to make our paper plate Halloween ghosts
Take the paper plate and cut a wavy line around 2cm from the bottom.
Cut out two mitten shaped hands from the card and glue one on either side of the ghost’s paper plate body.
Cut out two large eyes and a mouth then glue it onto the ghost.
Cut out several long strands of white crepe paper and glue them onto the back of the paper plate along the wavy edge. Optionally add some string for hanging and the paper plate ghost is finished!
These cute toilet roll magic wands are inexpensive to make and provide hours of fun too!
My kids really loved the toilet roll flowers we made to decorate their rooms. They are forever playing with them and today they were using them as magic wands to turn each other into frogs and whatnot. I thought this was a fab idea and it gave us the inspiration to make these cute little toilet roll wands – I just love them! The kids have played with them for hours, they’re great for imaginative play and provide just as much fun as any store bought toy too. They need a lot of glue gun usage so require an adult to make.
Here’s what we used
Toilet rolls
Coloured paint and paintbrush
Wooden skewer (pointy end removed!)
Ribbon
Something for the middle (pom pom, button etc)
Scissors
Glue gun
How to make these toilet roll magic wands
Start by taking some paint and colouring the TP rolls and optionally the wand stick too. For this wand we used one blue roll, one white roll and a painted blue skewer (pointy end chopped off for safety!)
Once dry, take the tp roll that you will be using for the main part of the wand and chop it into five equal rings.
Use the hot glue gun to attach two rings both together and to the stick.
Finish adding the rest of the rings to make a star shape. for stability you will need to make sure they are glued to the rings on either side.
Take the secondary colour tp roll and cut it into 8 strips. Take two of your strips and fold them in half. Glue one of the strips inside the other as above and the repeat this three more times until you have four of these shapes.
Glue your shapes into the empty spaces between the rings of the wand as above. Then add a pom pom, a button or similar to the centre of the wand.
Add any finishing touches such as ribbon or sparkles and the magic wand is finished. These are great for imaginative play!
With all the beautiful weather that we’ve been having lately weve been trying to get outdoors as much as we possibly can. The other day we took a short drive out to a local lake and went for a walk around it. It was such a lovely day and the views were just amazing. On the way back around my little guy came across these really cool pinecones and it inspired us to come up with another pinecone craft. Ted came up with the idea to make this little DIY pinecone fairy craft and even decided how we would make the arms and head too. We think they look fab and plan to glue on a string loop so that we can display them in our kitchen!
Here’s what we used
Pinecone Coloured paints Pom Pom Pipecleaners Glue gun (pva glue can be used but is a lot more fiddly) Scissors
Take your pinecone and paint the end of your pines in your chosen colour before putting it aside to dry.
Once your pine cone has dried, take your pom pom and glue it in the center of the flat base of your pine cone. Then cut two equal lengths of pipe cleaner and glue one either side of the pom pom to make the arms. Curl the end of the pipe cleaners slightly to make the hands.
To make the wings take a pipe cleaner and bring both ends in to meet in the center. Twist the ends around the center of the pipe cleaner to create the shape of a number 8. Then glue your wings on and pinch them into a wing shape. Why not add a loop of ribbon so that you can hang your fairies up? They look adorable!
Today my son decided he wanted to make something for his little sister. how adorable is that? For the last few days she has been absolutely obsessed with a cardboard tube from inside a foil roll, so I suggested perhaps we should turn it into a magic wand for her. He loved the idea and together we came up with this adorable recycled magic wand craft. For the most part we used recycled materials and after i had glued it together he added some craft buttons too. If you’re planning on making one I would definitely recommended using a glue gun if possible, it just makes them so much stronger. Our magic wand still looks completely untouched, even after being bashed around by a year old all day!
You will need
Long cardboard tube (the ones usually found in foil or cling film/saran wrap)
An old cereal box
Ribbons
Any optional decorations
Scissors
Paint
Glue (we used a glue gun because it’s just faster and the glue is a lot more durable. You can use pva, you’ll just need to peg the pieces whilst they dry, it probably won’t hold quite as strongly either)
How to make your recycled magic wand craft
Take your cardboard tube and paint it in your chosen colour. Once finished, pop it to one side to try.
Take your cereal box and cut out two identical stars. The easiest ways to do this are by either cutting two out at once or by drawing around your first one. Once they have both been cut out, paint them in your selected colour. Put your stars aside to dry.
Once your tube is dry, Cut out 6-8 equal lengths of ribbon and using your glue secure one end of each down on the inside of one side of your tube. Leave the other ends loose.
Glue one of your stars onto the tube and then cover all of it’s back edges in glue before securing the other star on the back.
Optionally add some decorations to your magic wand, then you are finished and ready to cast some spells!
Ok Ok, i know.. ANOTHER paper cone craft! But we’ve just been having so much fun making these. It’s awesome just how many designs you can make from them. These little easy paper Halloween witches might just be my favourite so far, they’re so adorable! We made ours friendly witches but you could alter yours to have any kind of expression you like. We’ve stashed these in the cupboard ready for Halloween when were going to hang them up in our conservatory. Why not give them a go?!
You will need
Coloured/black card
Coloured paper
Scissors
Glue
Markers
Eye stickers (optional)
Take a piece of A4 paper and fold it in half to make a card shape. Then, take a pencil and draw a gradual curve starting from just above the centre of your fold line to the bottom right corner (you’ll need to make sure the curve isn’t too sharp or it won’t match up when folded). Cut out your shape.
Fold your shape in half and trim off any excess to make sure both sides are even.
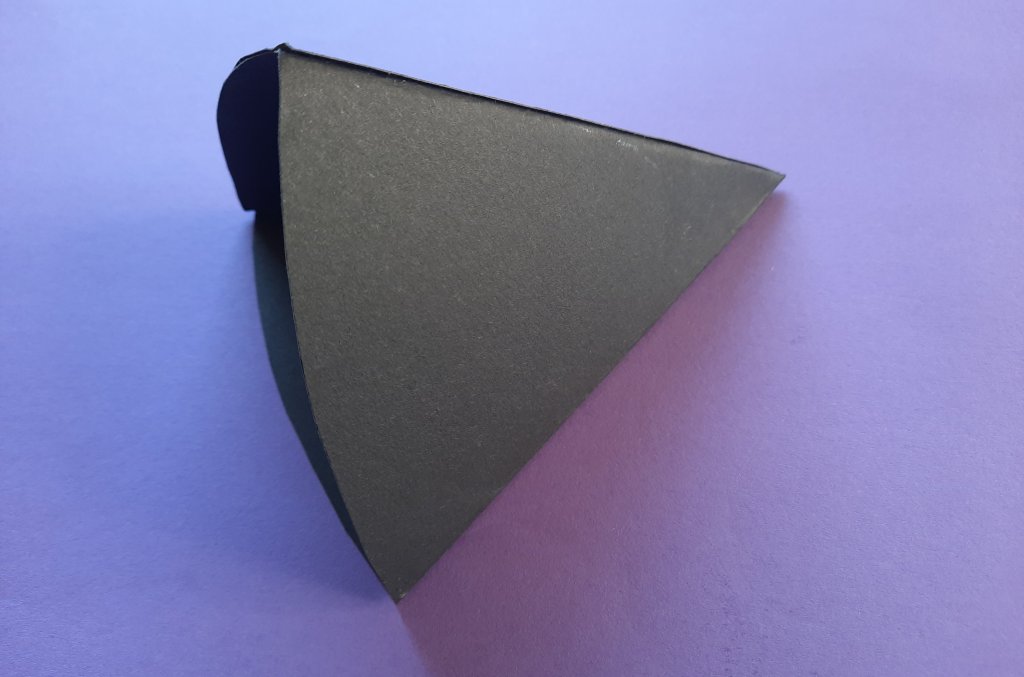
Open up your shape to reveal your 4 sections. Cover one of your end sections in glue
and then pull it round and stick it down on the back of your other end section to create a triangular cone.
To make the curly hair..
First you’ll need to cut out a circle for the face. Then, Cut out 4-6 long strips of coloured paper. Roll one end around and pen to give you the curls
and then Glue the curls down equally on either side of your face circle.
To make the straight hair..
Cut out a round circle for the face. Then, cut out a slightly larger circle from your hair coloured paper. Glue your face circle on to the hair circle…
and trim your hair to your chosen shape.
Cut out a pointy witches hat and glue it across the top of her head. Now it’s time to give your witch a face! She will need two eyes, a nose and a mouth. You could add some other fun features too – such as some witchy warts! Put your witch’s head to one side whilst you make the other pieces.
To make the wand cut out a black strip for the handle. Then cut out two matching stars (either by drawing around the first or cutting out two at once) and glue one to the front of the strip and match the other up on the back. put your wand to one side for a moment.
To make the broomstick cut out a strip of brown paper. Roll it round and round and glue at the end to make a small tube, make several snips into one end of the tube and open them out to make bristles.
Next cut out two rounded off strips for the arms. fold and glue one strip around the wand and the other around the broom, just as you can see above.
Now all that’s left to do is add your witch’s head and arms to her dress and she is finished, Doesn’t she look great! Why not add some extra decorations to her dress and hat.