This cute and easy paper snowman craft is super simple to make and is an adorable winter or Christmas keepsake that can be kept for years to come! all you need are a few basic materials and our simple to follow guide to keep the kids entertained with this fun little craft on these cold winter days
Here’s what we used
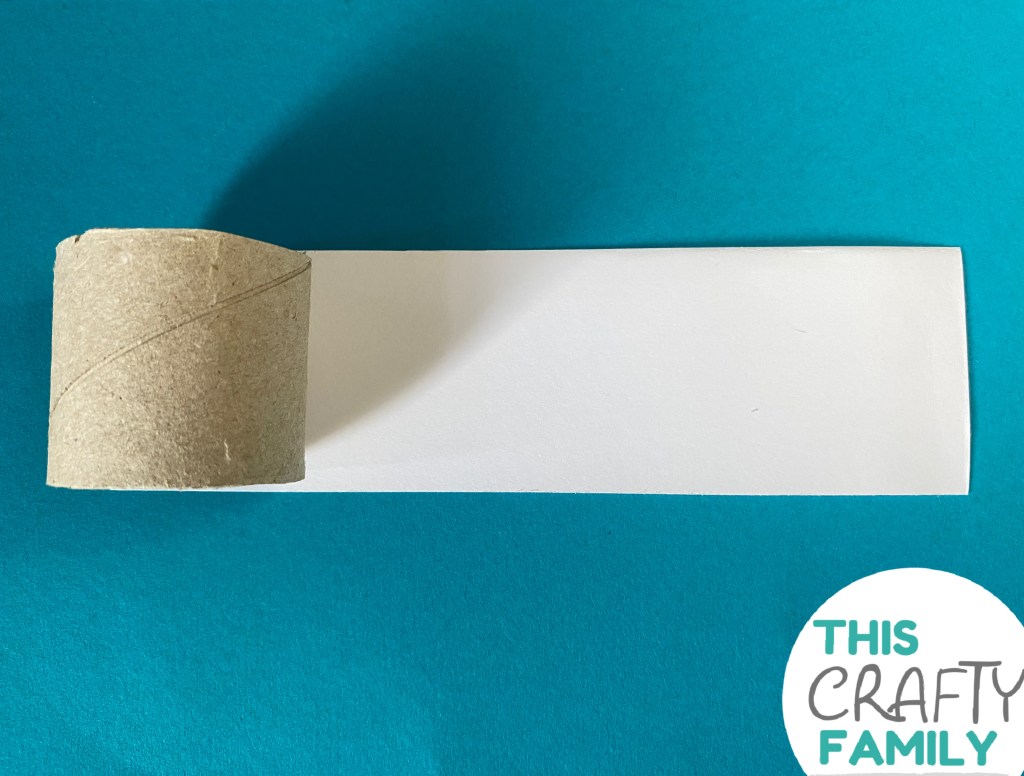
Clean cardboard tp rolls (x2 or 3)
Paper (white, brown, black and orange)
Ribbon
Thick cardboard
Scissors
Glue/double sided tape
How to make our cute paper snowman craft
Start by taking your tp roll tubes and cutting them down to three different lengths. A small one for the head, a medium one for the centre of the body and a large one for the base of the body.
Next take one of your tp roll sections and cut out a strip of white paper the same height as the tube and wide enough to wrap around it. Add double sided tape to the edges of the paper and then secure it around the tube.
Repeat the previous step with the remaining two tp sections until your snowman is completely white. Use your double sided tape to attach the three tubes together as above.
Cut out two stick arms and glue them in place inside the middle tube.
Next cut out and glue on your facial features and some buttons. We cut ours from coloured paper and then used our acrylic paint markers to add the details.
Add any other additional decoration such as our foam hat or ribbon scarf. Then finish off your snowman by cutting out a circular shape from your thick card and sticking it to the bottom of the snowman to help it stand. Aren’t they just the sweetest?
We love to see how your crafts turn out. Did you know you can share them with us on Facebook and instagram?
We gave these old wood slices a fun and festive makeover and don’t they just look adorable? These super cute wood slice snowman ornaments are small and lightweight and hang on the tree perfectly! They look super cute and effective and we can’t wait to make a whole snowman family for our own tree.
Here’s what we used
Wood slices
Acrylic paint pens
Foam
Ribbon
Glue gun
How to make our wood slice snowman ornaments.
Take your white paint and cover the front of your wood slice and then pop it aside to dry
Use your paint markers to give the snowman a face. We added two coal eyes, a little point carrot nose and a wiggly smiley mouth.
Add any additional decoration such as our foam hat, a bow, a bobble hat or whatever takes your fancy! We love using foam instead of paper as it tends to last better year after year.
Cut off a length of ribbon and tie it into a loop, glue the loop onto the back of your snowman and once dry your adorable Wood slice snowman ornaments are ready to hang and display!
How cute is this simple paper snowman craft? My nephew and I made these way back before Christmas to go on our seasons wall and i completely forgot to share them, so here they are now – a bit late for Christmas but still in time for some fun winter crafting!
How to make this adorable and simple paper snowman craft
take your piece of white card and cut out a large circle to make the snowman’s body and a slightly smaller one to make its head.
Cut out some circular coal buttons, two stick arms and a scarf then glue them onto the snowman’s body.
Next take the smaller circle that will be the snowman’s head and cut out and glue on two circular eyes, a triangle carrot nose and a hat/bow/earmuffs. Finish off the face by taking a black marker and adding a dotty coal mouth.
Glue the head circle in place on top of the body and your simple paper snowman is finished and ready to display!
Handmade gifts are a great way to show someone special a little bit of love. These super cute snowman sweet jars were so easy make, I made these for the kids in our family and filled them full of their favorite sweets/chocolates for Christmas and they just LOVED them! These are also great as homemade hot choccy jars too!
Here’s what i used
Jars
Yarn
Pom pom maker
Scissors
Googly eyes
Coloured pom poms
Coloured felt
Pipecleaner
How to make a snowman sweet jar
Start by making a large pom pom roughly the same size as the lid of your jar. If you haven’t made a pom pom before you can find an easy guide to making one with and without a pom pom maker here.
Next we need to make the snowman’s cozy earmuffs. To do this take a small length of pipecleaner and glue a pom pom on both ends. Add any other optional decorations such as bows and the glue the ear muffs into place on the pom pom snowman.
Glue on two Googly eyes and a pom pom nose
Next cut out a long strip of coloured felt to make the scarf. Make several snips in each end and then use your glue gun to attach the scarf onto the jar lid as above.
Glue the pom pom head onto the scarf and jar lid and once dry your snowman sweet jars are finished! These are great as homemade Christmas decor or for gifting to loved ones!
Winter is well on it’s way and the weather is certainly getting colder. The last couple of nights I’ve found myself waking up to put the heating on and wearing a pair of socks to bed! Some parts of the UK have even seen snow over the last few days. I do love snow, it looks beautiful and it’s so much fun to play in, we love snowball fights, building snowmen and tobogganing – there are some great hills around here. However, we live in a small village in the middle of nowhere so its not the most practical! My son is desperate for a white Christmas and with the weather being like it is at the moment it definitely seems like it could be possible. Maybe it’s time for us to stock up the food cupboards in case we get snowed in! All this talk about snow is what what inspired today’s craft, this wobbly paper plate melted snowman. Isn’t he fun?
To give the snowman that melted look, take a pair of scissors and trim around the edge of the paper plate to create a wavy pattern.
Cut out a circle for the snowman’s face (we cut ours from a second plate), then make a spring so that it can be attached. To make the spring all you need to do is cut out two equal strips of paper and glue them at a right angle. Take turns folding one strip over the other and once you reach the end glue the two loose ends together.
Give the snowman a face by gluing on two round eyes, a mouth and a carrot shaped nose.
Glue one end of the spring to the center of the paper plate and then the snowman head to the remaining end. Cut out two twiggy arms and glue one either side of the snowman’s head.
Finish off the adorable plate snowman by adding any extra melted decorations; we added a top hat, some buttons and some mittens. Leave to dry and your snowman is finished!