This free nature scavenger hunt printable is a great way to get outdoors with the kids and celebrate the warmer weather! We took our copies to the local lake and the kids had a great time running around looking for the different items on the list. We made two versions, one with labels for my youngest and one with blank labels for my eldest to fill out himself, it was a great way to encourage him to practise his writing and to make it extra fun we took a camera so they could take turns taking pictures of their findings!
This super cute paper flower craft is so sweet and simple to make and is a perfect way to welcome in the spring season! Not only do these look great on display but they also make a cute art piece for children to make and gift!
Here’s what we used
Coloured card
White, green and yellow paper
Scissors
Glue
How to make our paper daisy craft
Cut out several equal sized strips of white paper. Take six strips and glue them together in a flower like shape on to your paper – remember to only glue the centre and leave the ends of the strips loose.
Take the end of each strip, bring it inwards and glue it down in the middle of the flower.
Cut out and glue on a circle to make the centre of the flower.
Repeat the previous steps to make the desired amount of daisies.
Cut out a strip of green paper to make the stem and then add some green leaves.
Next, Cut out a strip of paper a few cms longer than the bottom of the picture and on one side cut out several triangles to make some spiky grass. Fold a small tab on each side of the grass and then use the tabs to glue the grass onto the picture. Once dry your little one’s cute paper daisy craft is ready to display!
These adorable paper heart garlands are so sweet and simple and are perfect for children to make and gift on special occasions – they also make great budget friendly party decor too!
Here’s what we used
Coloured paper/card
Scissors/paper cutter
Glue
String
Hole punch
How to make a paper heart garland.
Start by cutting out the paper strips that you will use for your heart. We used four for each side. Cut out the strips for one side first, each strip should be the same width but you’ll need to cut each strip to a different length as you can see above. For out largest strip we used the length of a piece of a4 paper and then we cut each one down by a couple cms each time. Once you have your four strips cut out four identical ones to make the other side of the heart.
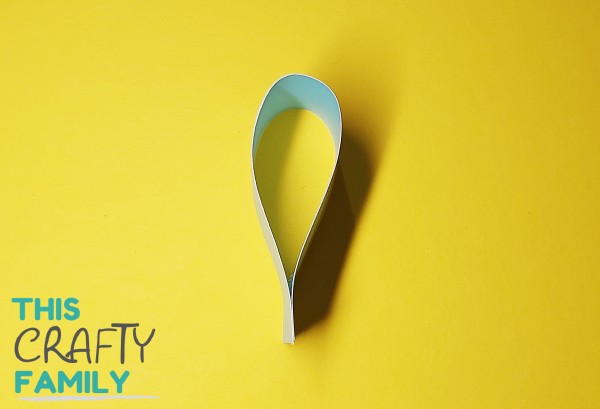
Take the smallest strip and add a dab of glue to one end pull the other end round into a tear shape and pinch the two ends together until stuck.
Next take the second shortest strip and again add glue to one end. Attach it to the point of your first tear drop shape and then take the other end and glue it down onto the other side of the tear drop to create a second layer.
Repeat this process with the remaining strips you have for this side
Repeat the previous steps to create a second tear drop shape.
To hang your hearts as part of a garland or as an individual decoration; Cut out a small rectangle strip the same width as the strips you used to make your heart and punch a hole at one end.
Glue the two sides of the heart together with the hanging strip to dry. Repeat this process to make as many hearts as you need, once dry use the hole punched part of the strips to thread the strings through and create your paper heart garland!
Spring is finally here! The Sun has started shining, the flowers are beginning to grow and our garden has been abuzz with an abundance of big fuzzy bumblebees. After a few weeks of being ill a bit of spring is exactly what we needed and to celebrate we decided to make a spring themed craft idea. This threaded bumble bee craft is not only super cute, its super easy to make too!
Here’s what we used
Yellow, black and white card
Black yarn
Hole punch
Sticker eyes (optional)
Markers
Glue
Tape
How to make our threaded bumble bee craft!
Take the yellow card and cut out a oval shape. Use the hold punch to make an equal amount of holes in the top and bottom of the oval.
Cut off a length of yarn and glue one end to the back of the oval body. Thread the yarn through the holes in an up and down pattern and then once finished use tape to stick the loose end down on the back of the bee.
Cut out two wing shapes and a triangular stinger. Glue them onto the bee and then add an eye using stickers or markers.
use a marker to add a smiley mouth and your adorable threaded bumble bee craft is finished! These make a great addition to any spring themed display!