This cute and easy paper snowman craft is super simple to make and is an adorable winter or Christmas keepsake that can be kept for years to come! all you need are a few basic materials and our simple to follow guide to keep the kids entertained with this fun little craft on these cold winter days
Here’s what we used
Clean cardboard tp rolls (x2 or 3)
Paper (white, brown, black and orange)
Ribbon
Thick cardboard
Scissors
Glue/double sided tape
How to make our cute paper snowman craft
Start by taking your tp roll tubes and cutting them down to three different lengths. A small one for the head, a medium one for the centre of the body and a large one for the base of the body.
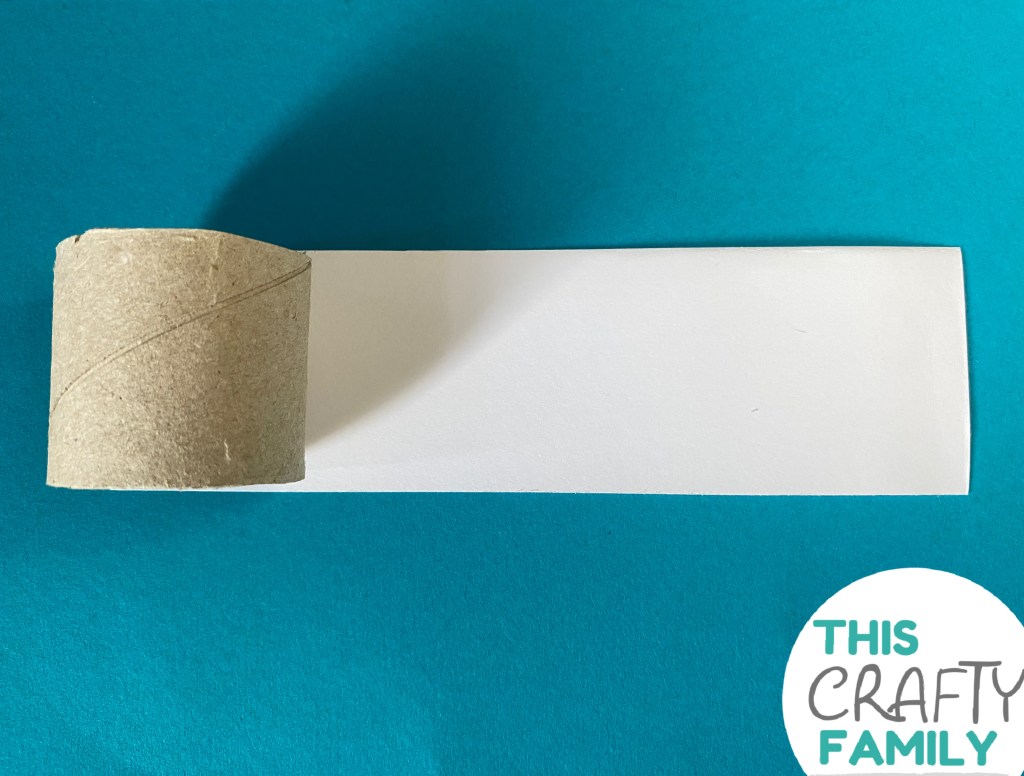
Next take one of your tp roll sections and cut out a strip of white paper the same height as the tube and wide enough to wrap around it. Add double sided tape to the edges of the paper and then secure it around the tube.
Repeat the previous step with the remaining two tp sections until your snowman is completely white. Use your double sided tape to attach the three tubes together as above.
Cut out two stick arms and glue them in place inside the middle tube.
Next cut out and glue on your facial features and some buttons. We cut ours from coloured paper and then used our acrylic paint markers to add the details.
Add any other additional decoration such as our foam hat or ribbon scarf. Then finish off your snowman by cutting out a circular shape from your thick card and sticking it to the bottom of the snowman to help it stand. Aren’t they just the sweetest?
We love to see how your crafts turn out. Did you know you can share them with us on Facebook and instagram?
Take your roll and chop it down to your desired height. Next take your pink card and cut out a strip the same height as your roll and wide enough to wrap completely around it. Glue the card around the roll.
From the same colour cut out two large pig ears and then cut two slightly smaller inner ears from a different shade of pink. Glue the pieces together to make the ears and then stick them in place inside the top of the roll.
Add two eyes on the front of the roll, just below the ears
Now make an oval snout and add two pink nostrils. Glue it on to the middle of the pigs face and use your marker to give the pig a mouth
Cut out a long thin strip with a point at the end to make a tail. Wrap the tail around a pencil to make it curl and then glue it onto the back of the roll to finish your pig! Isn’t he cute?
This cute and simple to make Easter bunny craft idea is perfect for both kids and grownups alike!
You will need
Clean tp roll
Paint
Coloured card
Scissors
Glue
Googly eyes
Pom pom
A pen
How to make this adorable Easter bunny craft idea!
Take your toilet paper roll, cover it in your chosen colour of paint and then pop it aside to dry.
Cut out two rounded outer ears and then two smaller coloured inner ears. Glue the inner ears onto the outer ears and then once dry stick the ears in place on the inside of the toilet roll tube.
Cut out two large feet then cut out the small circles and an oval shape from your colourful paper and stick them onto the feet to make the footprints.
Glue two large googly eyes onto the front of the roll and then add a small pom pom nose between the eyes.
Use a pen to draw on the rabbit’s mouth and whiskers and optionally stick on a small white rectangle for the teeth.
Finally add a fluffy pom pom to the back and your adorable Easter bunny craft is finished and ready to display or gift!
How cute is this tp roll ballerina puppet craft? We really enjoyed making these and the kids had so much fun twirling them around to music and making their own ballet shows!
Here’s what we used
Cardboard tp roll
Coloured card and paper
Markers
Scissors
Glue
Tape
String
How to make our tp roll ballerina puppet craft
Take a skin tone coloured piece of paper and cut out a strip that’s long enough to wrap around the paper roll and approximately 1/3rd the height of it. Glue the strip around the top of the paper roll to make the princess’ head.
Cut out a second strip of colored paper to cover the bottom 2/3rds of the roll and glue it on to the paper roll to make the princess’ dress.
Now cut out a strip of paper and style it as desired to make the hair. We used a long triangular shape to make this ballerina’s fringe.
Use your markers to add a face to your tp roll ballerina.
Cut out a strip of coloured paper and make several snips into the bottom of the strip before curling the ends to make the tutu. Glue the tutu around the toilet roll.
Next cut out four equal strips of paper and fold them using a fan fold (one way and then the other) to make the arms and legs. Glue them into place on the toilet roll.
Cut out two hands and two feet and glue them onto the end of the arms/legs.
Optionally glue the ballerinas hands together above their head and then take a good length of string and attach either end to one of their hands. once dry your ballerina is ready to be played with!
Please note this post may contain affiliate links. If you click on any of the affiliate links provided and make a purchase I receive a small commission at absolutely no extra cost to you. This helps me to keep this page up and running and provide free content.